


EPDM roofing is an excellent option for low-slope or flat roofs due to its durability, flexibility, resistance to harsh weather, ease of installation, and low maintenance. EPDM stands for ethylene propylene diene monomer, a synthetic rubber membrane widely used for restoring and protecting flat roofs.
With a proven track record, EPDM roofing can withstand extreme heat, cold, rain, snow, hail, and even fire. While installing EPDM roofing is not overly complex, it does require the right tools, materials, and a methodical approach. This guide will provide a step-by-step walkthrough on how to install EPDM roofing correctly and safely. It will also explain how professional roofing contractors like Silicoat Roofing can help ensure a long-lasting and reliable installation.

Why Choose EPDM Roofing?
EPDM roofing is a widely used material for commercial and residential low-slope roofs due to several advantages:
- Durability – EPDM roofs can last over 50 years with proper maintenance, making them one of the longest-lasting roofing options available. Unlike traditional materials, EPDM resists cracking, rot, and deterioration caused by temperature fluctuations, moisture, and environmental exposure. Its rubber composition allows it to expand and contract without weakening over time.
- Flexibility – The material remains pliable in extreme temperatures, allowing it to adapt to various roof structures without compromising performance. This makes EPDM ideal for buildings with complex roof designs, including those with chimneys, pipes, skylights, and gutters. Even in colder climates, EPDM retains its flexibility, reducing the risk of breakage or brittleness.
- Weather Resistance – EPDM offers exceptional protection against harsh weather conditions, including heavy rain, strong winds, hail, and snow. Its waterproof properties prevent leaks, while its resistance to mold, mildew, algae, and UV rays ensures long-term reliability. Additionally, EPDM has excellent fire-resistant qualities, making it a safer option for commercial and industrial buildings.
- Ease of Installation – Unlike other roofing systems, EPDM can be installed with minimal tools and requires no special training. It is available in large rolls, which reduces the number of seams and the risk of leaks. Homeowners and contractors can choose from fully adhered, mechanically fastened, or ballasted installation methods, depending on their specific needs and budget.
- Low Maintenance – Once installed, EPDM requires little upkeep beyond periodic cleaning and inspections. Its smooth surface prevents debris buildup, and minor damages can be easily repaired with EPDM patches or seam tape. Regular inspections help identify potential issues early, extending the roof’s lifespan without costly repairs.
- Energy Efficiency – EPDM is available in black or white variations, with white EPDM reflecting sunlight and reducing heat absorption. This helps maintain cooler indoor temperatures during summer, lowering energy costs and improving building efficiency. Additionally, its insulating properties contribute to better temperature regulation year-round.
- Eco-Friendly Choice – EPDM is a sustainable roofing option, as it is made from recyclable materials and produces minimal waste during installation. Its longevity and energy-saving benefits also contribute to a reduced environmental footprint, making it an environmentally responsible choice for modern buildings.

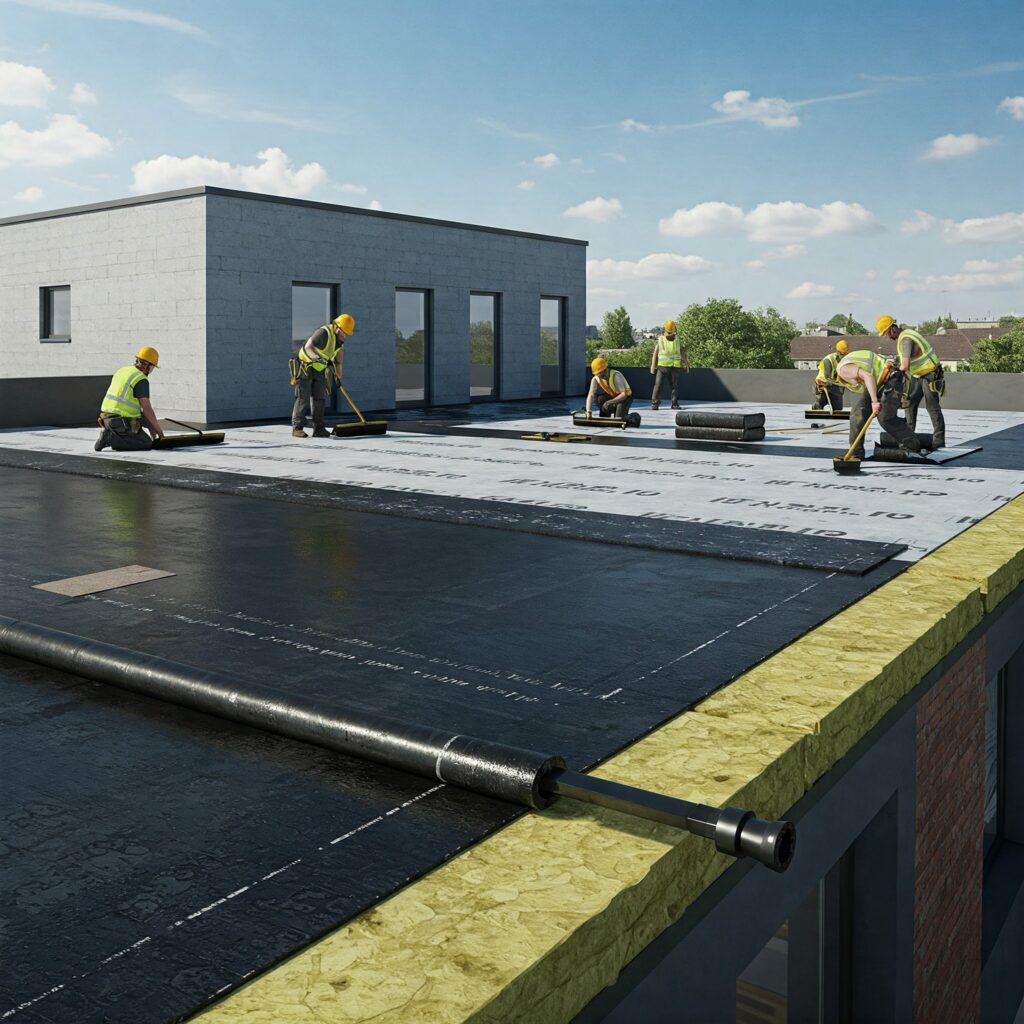
Preparing the Roof for EPDM Installation
Before beginning the installation, the roof surface must be properly prepared to ensure the EPDM membrane adheres correctly and provides lasting protection. Proper preparation helps prevent future leaks, improves adhesion, and extends the lifespan of the roof.
Checklist of Materials and Tools:
- EPDM membrane (rolls of varying thicknesses from 45 to 90 mils)
- Adhesive (water-based or solvent-based)
- Seam tape and primer
- Flashing materials
- Utility knife
- Tape measure and chalk line
- Squeegee or roller
- Broom or brush
- Safety gear (gloves, goggles, non-slip shoes)
Cleaning and Inspecting the Roof
The roof surface should be clean, dry, and free of debris, including nails, screws, and loose materials. Any dirt or dust can interfere with adhesion, causing the membrane to lift or wrinkle over time.
- Removing Old Roofing Materials: If the roof has existing materials such as asphalt or shingles, they should be removed or covered with a plywood or gypsum board underlayment.
- Repairing the Roof Deck: Damaged or rotting areas of the roof deck should be repaired before installation. Any soft spots or water-damaged sections must be replaced to ensure a stable foundation.
- Identifying Penetrations and Transitions: Note any roof penetrations (vents, skylights, chimneys) that require flashing to prevent leaks. Sealing these areas properly is essential for a watertight finish.
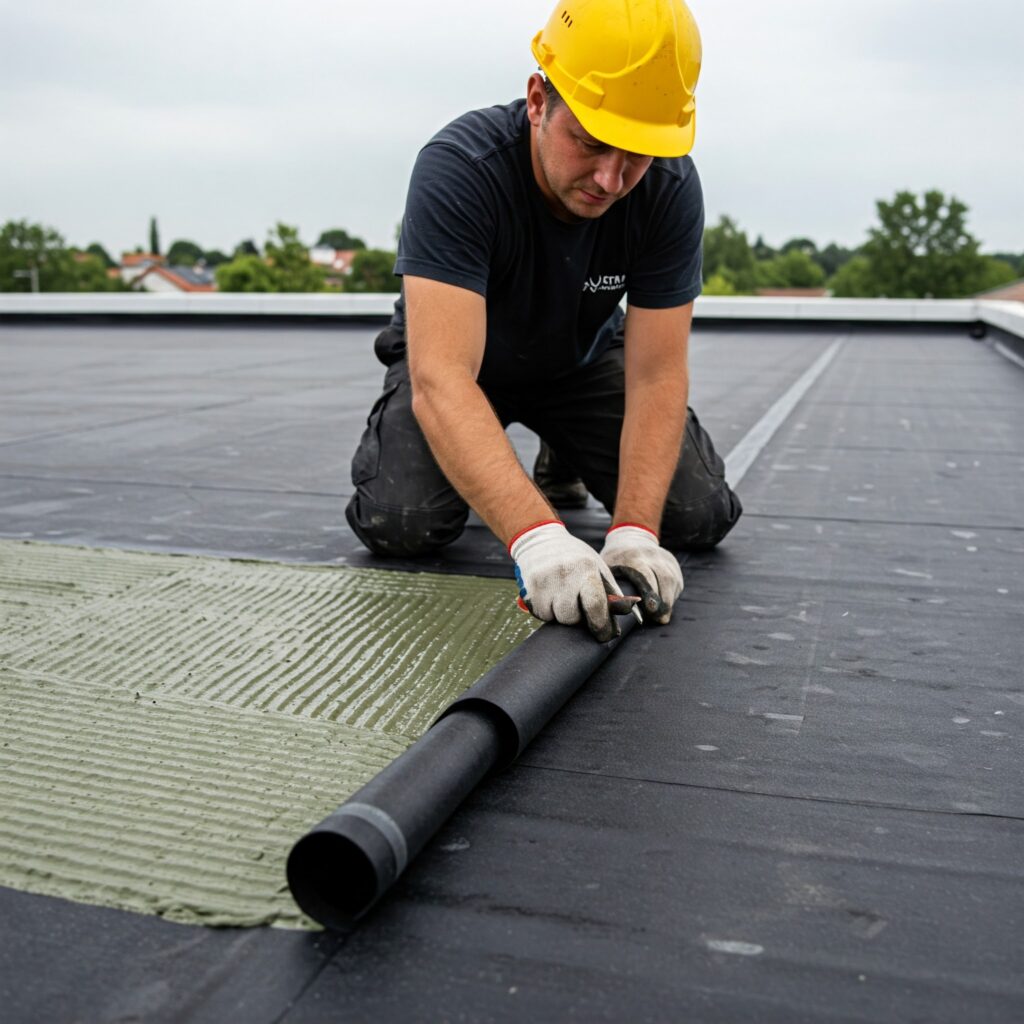
Applying the Adhesive
Proper adhesive application is crucial for a secure and long-lasting EPDM roof. There are two common methods of attachment:
- Fully Adhered System – Uses a special adhesive to bond the membrane directly to the substrate. This provides a smooth, seamless finish and is best for roofs with unique shapes or slopes.
- Mechanically Fastened System – Involves screws and plates to hold the membrane in place, suitable for larger or wind-prone areas where additional reinforcement is needed.
Step-by-Step Adhesive Application:
- Position the Membrane – Unroll the EPDM membrane onto the roof and let it rest for at least 30 minutes to relax and remove creases. This step ensures a better fit and easier application.
- Apply the Adhesive – Fold the membrane back halfway and apply adhesive to both the substrate and the membrane using a roller or brush. Be sure to spread the adhesive evenly to prevent bubbles.
- Let the Adhesive Set – Allow the glue to dry until it becomes tacky (typically 5-15 minutes). The right consistency ensures a strong bond between the membrane and the roof.
- Lay Down the Membrane – Carefully roll the membrane back onto the adhesive and press firmly with a squeegee to eliminate air pockets and ensure proper adhesion.
- Repeat the Process – Fold back the remaining half and repeat the steps, ensuring full coverage of the roof.
Sealing the Seams
Proper seam sealing is essential for waterproofing and preventing leaks. Even small gaps can allow water infiltration, leading to costly repairs.
Steps for Seam Sealing:
- Apply Primer – Brush primer onto the edge of one membrane piece and let it dry. This enhances adhesion and prevents the seam from lifting over time.
- Apply Seam Tape – Place double-sided seam tape along the edge and remove the backing paper carefully to avoid wrinkles or air bubbles.
- Overlap and Press – Overlap the second membrane by at least 3 inches and firmly press onto the seam tape, ensuring a tight bond.
- Roll and Smooth – Use a roller to apply pressure, securing the tape and eliminating any trapped air for a watertight seal.
Installing Flashing
Flashing is necessary to cover roof penetrations such as vents, pipes, and skylights. Proper flashing prevents water from seeping into vulnerable areas.
Steps for Flashing Installation:
- Cut the Flashing – Measure and cut the flashing material to fit around the penetration, allowing some overlap for extra protection.
- Apply Primer and Adhesive – Use a brush to apply primer and adhesive to both the flashing and the roof surface. This step ensures a stronger bond.
- Attach the Flashing – Press the flashing onto the roof and smooth out wrinkles, making sure there are no air pockets that could cause lifting.
- Seal the Edges – Apply EPDM lap sealant to any gaps or exposed edges to prevent water intrusion and ensure long-term durability.
Troubleshooting Common Installation Issues
Even with careful installation, issues can arise. Here are common problems and their solutions:
- Bubbles or Wrinkles in the Membrane – Typically caused by trapped air or improper adhesive application. Use a roller to smooth them out or carefully lift and reapply adhesive.
- Weak Adhesion – Can result from insufficient adhesive or improper drying time. Always follow the manufacturer’s recommendations for application and curing.
- Leaks at Seams – Often occur if seam tape is not pressed firmly. Reapply seam tape and use a roller to ensure a tight bond.
- Tears or Punctures – Small damages can be repaired with EPDM patch kits and seam tape. Larger areas may require professional repairs.
Maintenance and Care
Proper maintenance extends the life of an EPDM roof and prevents costly repairs. Regular inspections and cleaning help identify issues before they worsen.
- Regular Cleaning – Use mild soap and water to remove dirt, debris, and algae buildup. Avoid abrasive cleaners that can degrade the membrane.
- Annual Inspections – Check for loose seams, bubbles, or damage, especially after storms or heavy rainfall.
- Minor Repairs – Address small punctures with repair kits before they worsen into larger issues.
- Avoid Harsh Chemicals – Do not use petroleum-based cleaners, as they can damage the rubber membrane and compromise its integrity.
Cost and Time Estimates
Understanding the cost and installation time can help plan your project effectively and budget accordingly.
- Cost – EPDM roofing costs approximately $5-$10 per square foot, depending on the thickness and installation method. Additional costs may include labor, flashing materials, and underlayment.
- Installation Time – A DIY installation for a standard 1,000-square-foot roof can take one to two days, while a professional can complete it in less than a day with a team.
Why Hire a Professional?
While EPDM installation is straightforward, hiring a professional ensures a flawless job with added benefits:
- Expertise – Experienced roofers handle different roof types and obstacles efficiently, ensuring the membrane is applied correctly for maximum durability. They can also identify potential problem areas before they lead to costly repairs.
- Quality Assurance – Professionals use certified materials and adhere to industry standards for longevity, providing a finished product that withstands harsh weather conditions. They also have access to specialized tools that improve installation precision.
- Safety – Roofing work can be hazardous, especially on larger or sloped surfaces. Professionals use proper safety equipment and techniques to minimize risks, ensuring a secure and accident-free installation.
- Convenience – A professional team can complete the job quickly with minimal disruption to your property. They also handle all the preparation and cleanup, saving you time and effort.
- Warranty Protection – Many professional roofing companies offer warranties on both materials and labor, giving you peace of mind that your investment is protected.
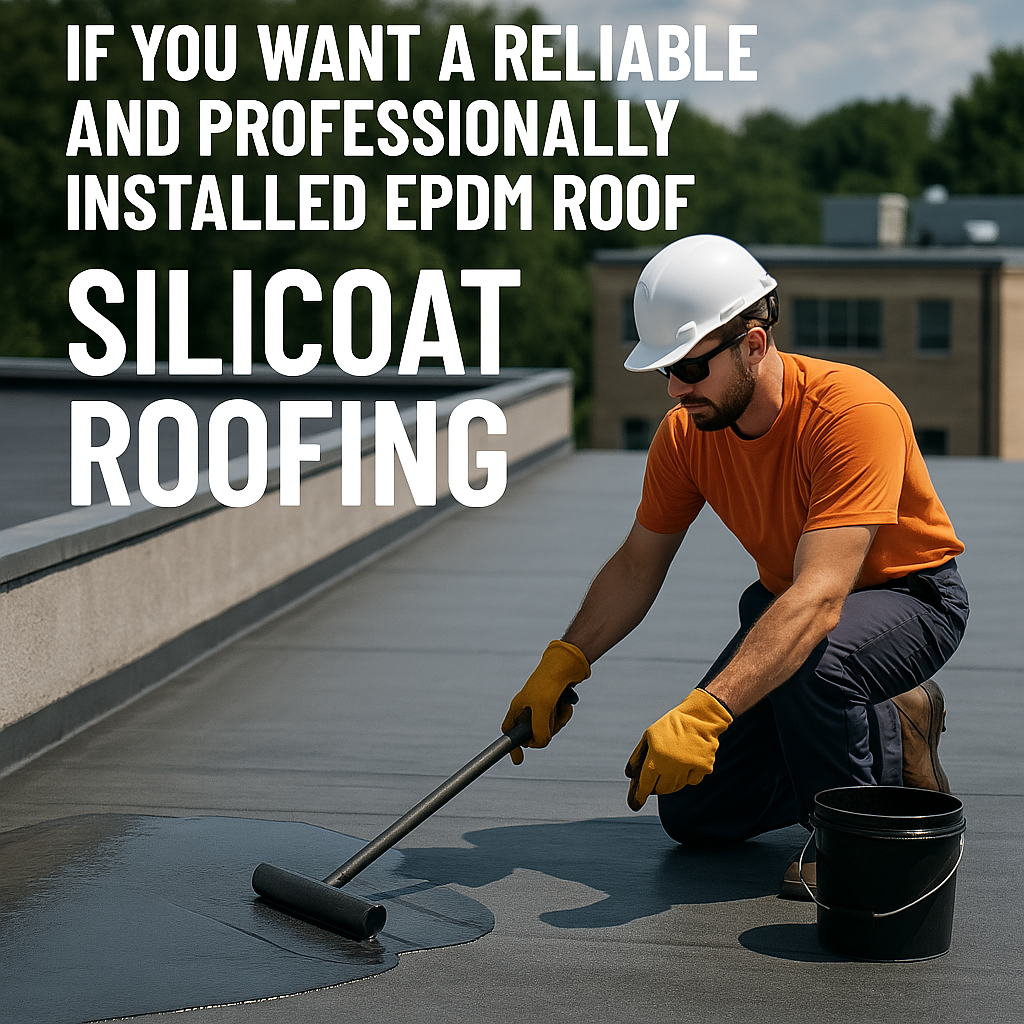
Contact Silicoat Roofing for EPDM Installation
If you want a reliable and professionally installed EPDM roof, Silicoat Roofing is here to help. With over 20 years of experience, we provide high-quality materials and expert installation backed by a 20-year guarantee. Our team ensures every roof is installed to the highest standards, offering long-term protection and efficiency.
 Previous Post
 Next Post